When you create a group, you get to decide who can join, review posts before they’re published, and keep your group private or searchable by other LinkedIn users. If you’re ready to dig in, we’ll show you how to create a group on LinkedIn and the basics of managing it.
Create a New LinkedIn Group
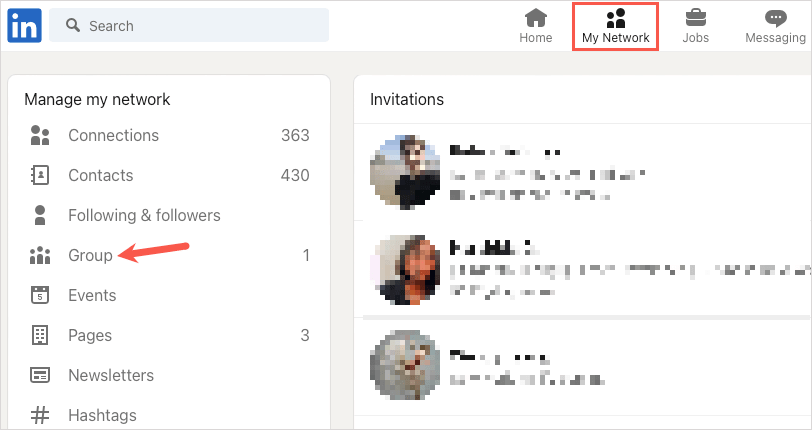
You can create a group on the LinkedIn website or in the mobile app. Head to the spot you want to use, log in, and follow these steps to set up your group.
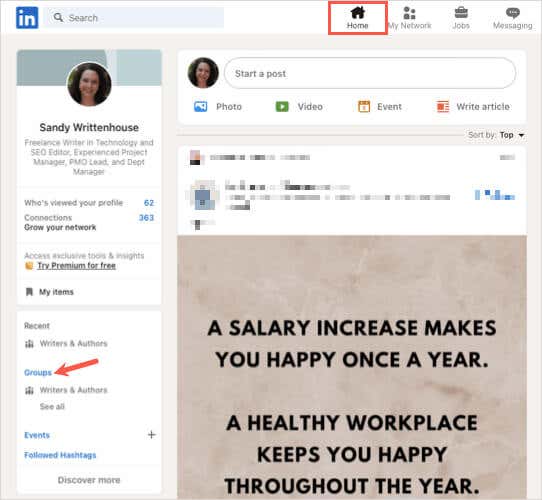
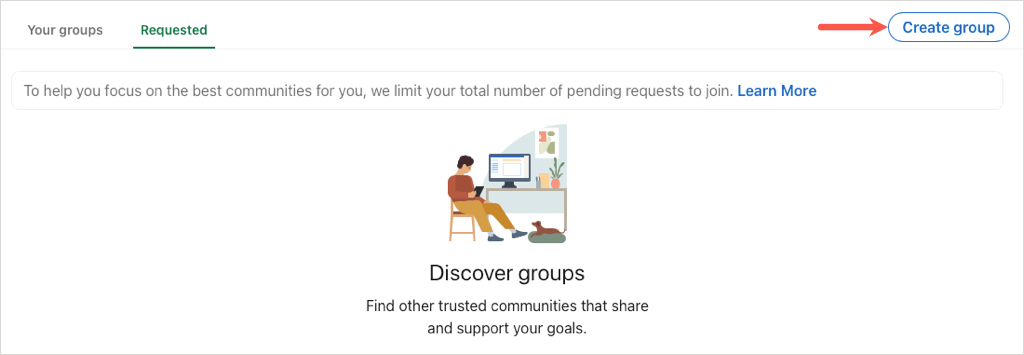
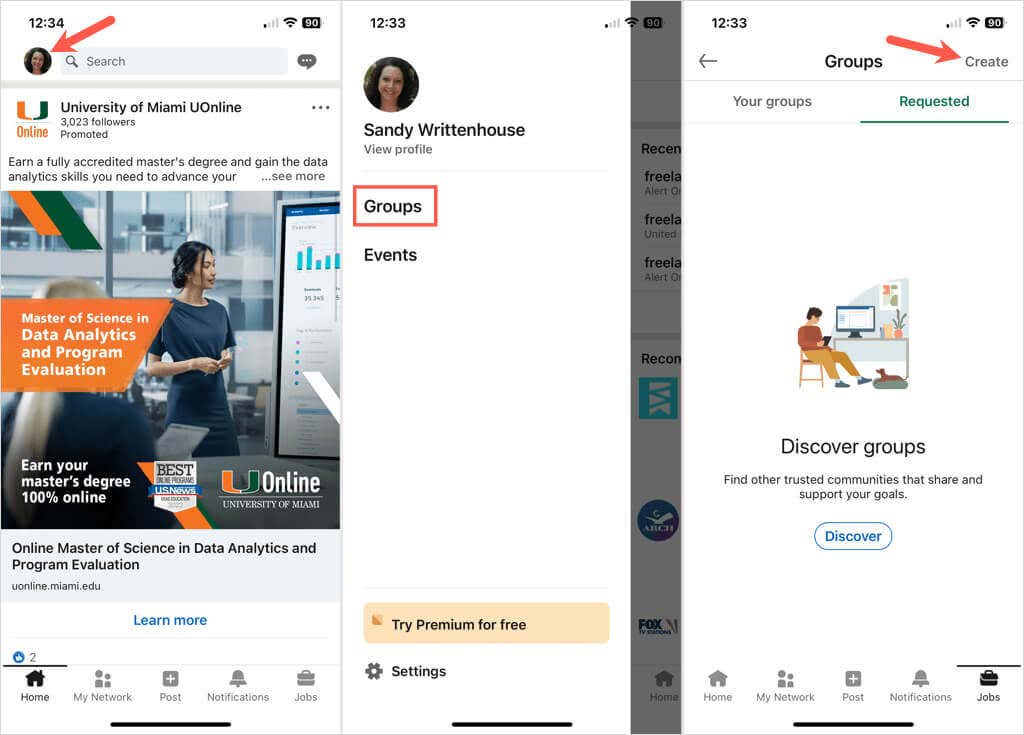
Create a Group on the Web
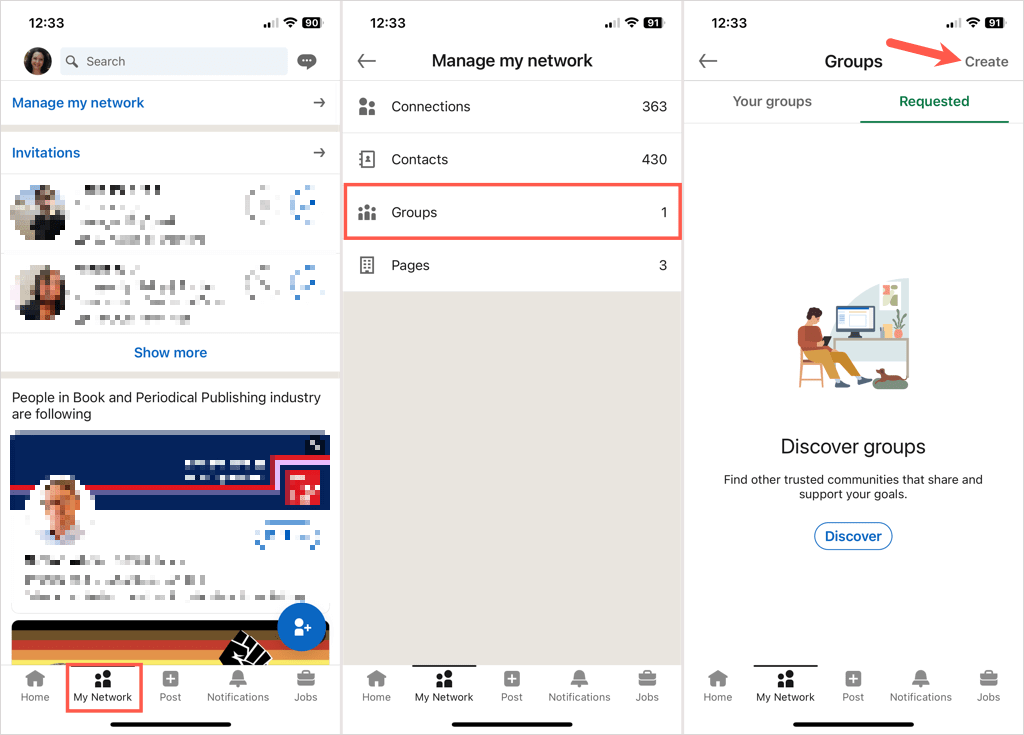
Create a Group in the Mobile App
Add the Group Details
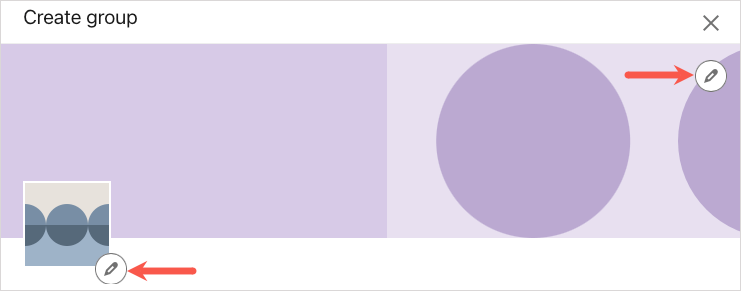
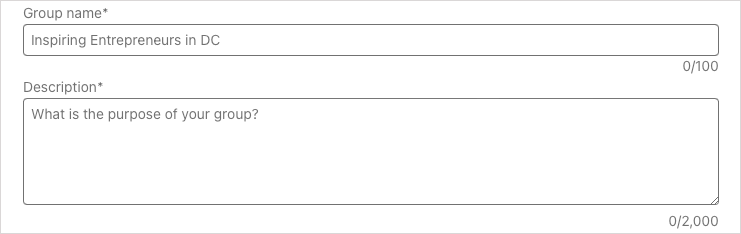
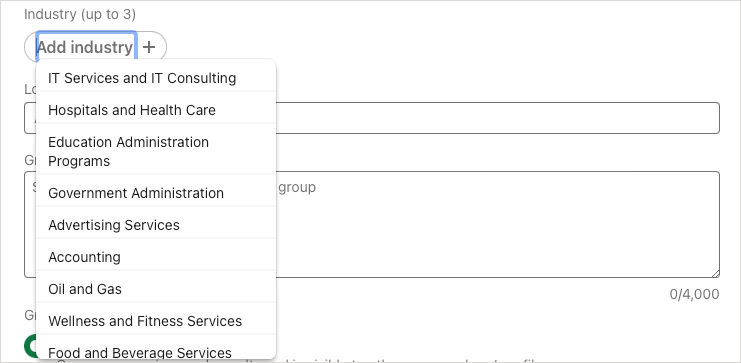
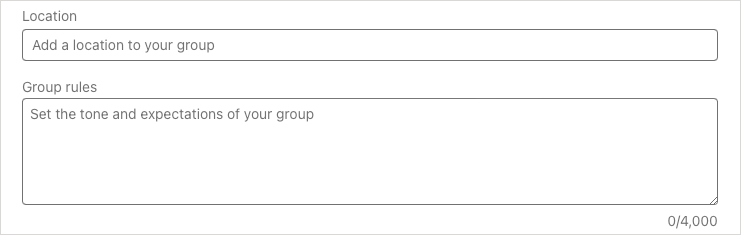
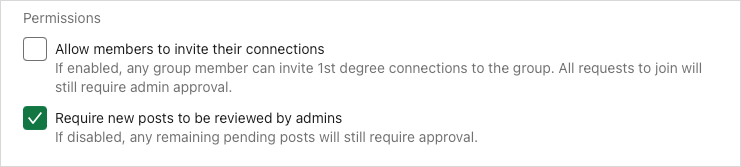
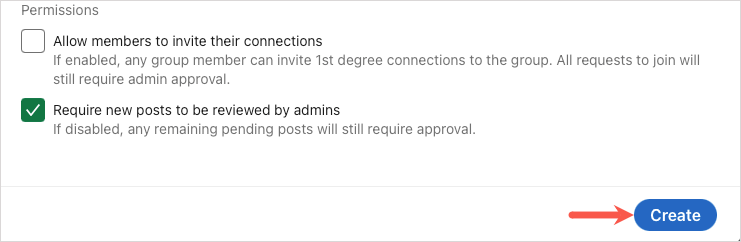
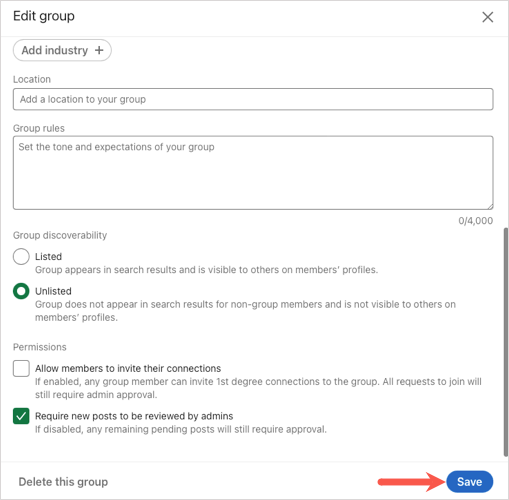
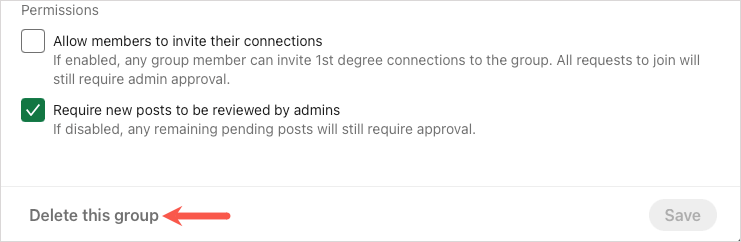
Once you arrive at the Create Group box, you’ll enter all the group information. Logo and cover image (optional): Select the Edit icon (pencil) next to the logo image on the left or cover photo on the top right to add one, the other, or both. This can help your members distinguish your group at a glance. Group name (required): Enter the name for the group which can be up to 100 characters long. Try to include the intent, topic, or industry in the group name. Description (required): Enter a description for the group which can be up to 2,000 characters long. Make this descriptive enough that your target audience and potential new members understand the purpose of the group. Industry (optional): If you’d like to include a related industry for the group, you can add up to three. This is helpful for specific industries and relevant careers. Location (optional): If your group is location-specific, you can include that as well. You can choose a local spot based on your location or go as broad as worldwide if you prefer. Group rules (optional): Consider including any regulations, expectations, or rules you want members to abide by. You can use up to 4,000 characters for the group rules. Group discoverability (required): You can choose Listed or Unlisted for this option. Listed means that the group appears in search results and on the profiles of its members. Unlisted is the opposite, the group won’t appear in searches and is not visible on member profiles. Permissions (optional): Check the first box if you want to let your members invite their connections and the second box if you want to review posts before they’re published. If you do check the box to review posts, you have 14 days to do so before the post is visible to the group. When you finish all the details, select Create to complete the setup process.
LinkedIn Group Limitations
There are a few limits that you should know when creating your own LinkedIn groups.
As of this writing, you can:
Create five groups and delete 30 groups per day Have three million members in a single group * Assign 10 owners and 20 managers to your group Manage 30 groups Use up to 3,000 characters in a group post and 1,250 characters in a comment
For other limitations regarding being a group member, check out the LinkedIn Help page for group limits.
- Another LinkedIn Help page states a group can only have up to two million members. Be cautious if your membership reaches this number.
Manage a LinkedIn Group
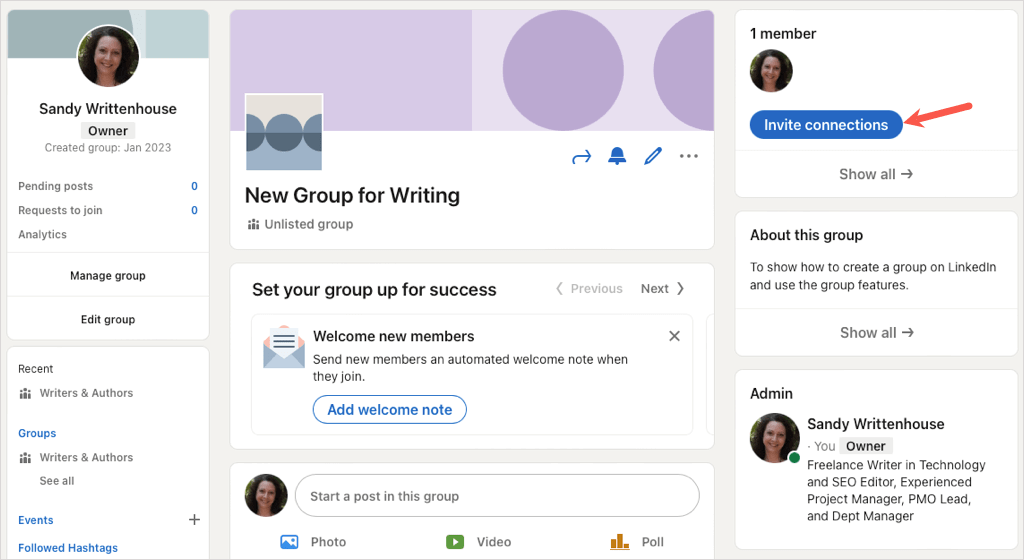
Once you create a LinkedIn group, you can invite members, edit the group, view pending posts, and more. Visit your group’s homepage to get started.
Invite Connections
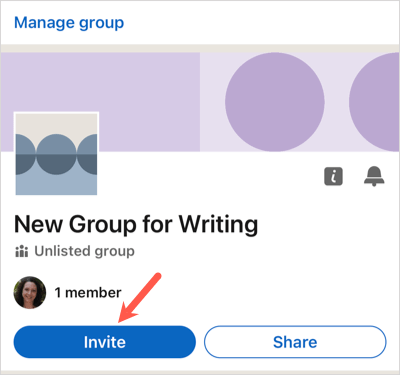
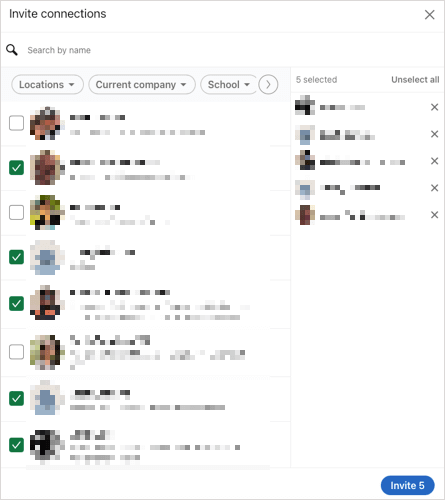
On the web, select Invite Connections in the top right corner. In the mobile app, select Invite at the top. Check the boxes for those connections you want to join your group and pick Invite.
Edit the Group
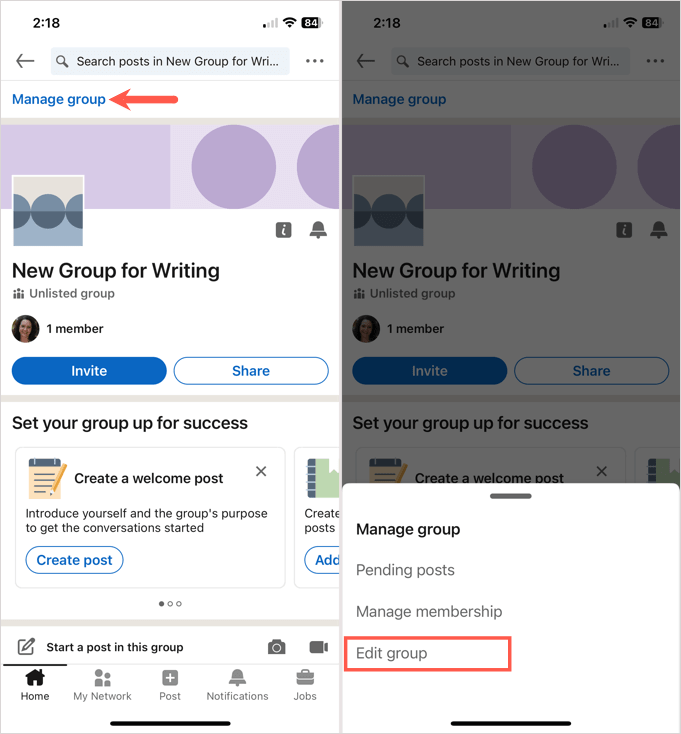
You may want to edit the description, add an industry, or change the original discoverability. On the web, select Edit group on the left or the Edit icon to the right of the group name. In the mobile app, tap Manage group at the top and then pick Edit group at the bottom. Make your changes and select Save.
View Pending Posts
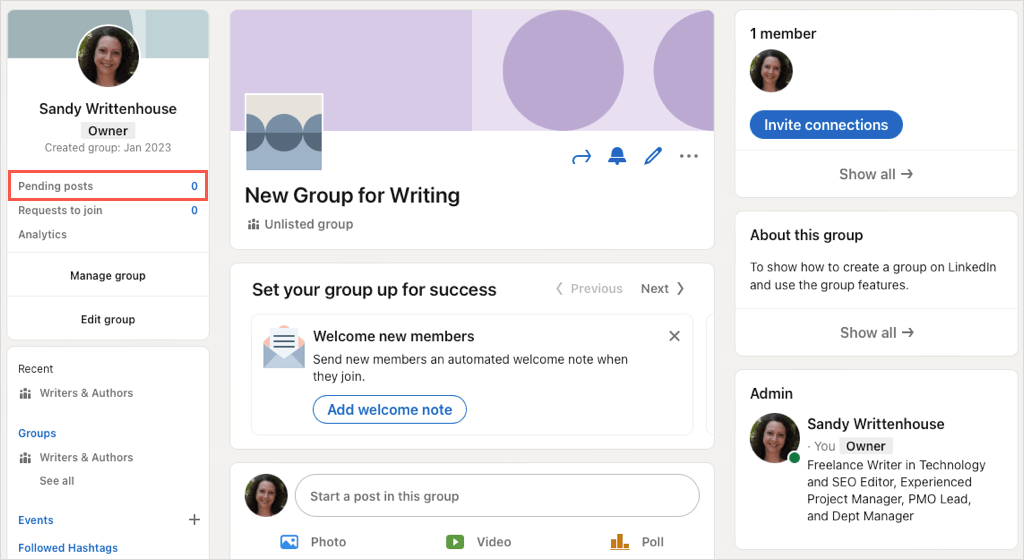
If you choose to review posts before they’re published, you can see all of these in one spot. On the web, select the number to the right of Pending posts on the left side. In the mobile app, select Manage group at the top and then Pending posts at the bottom.
Manage Group Members
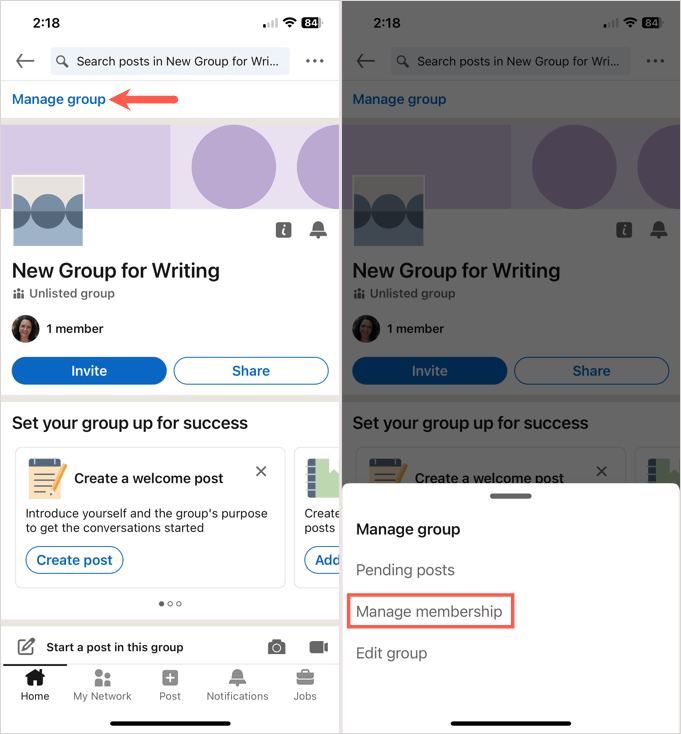
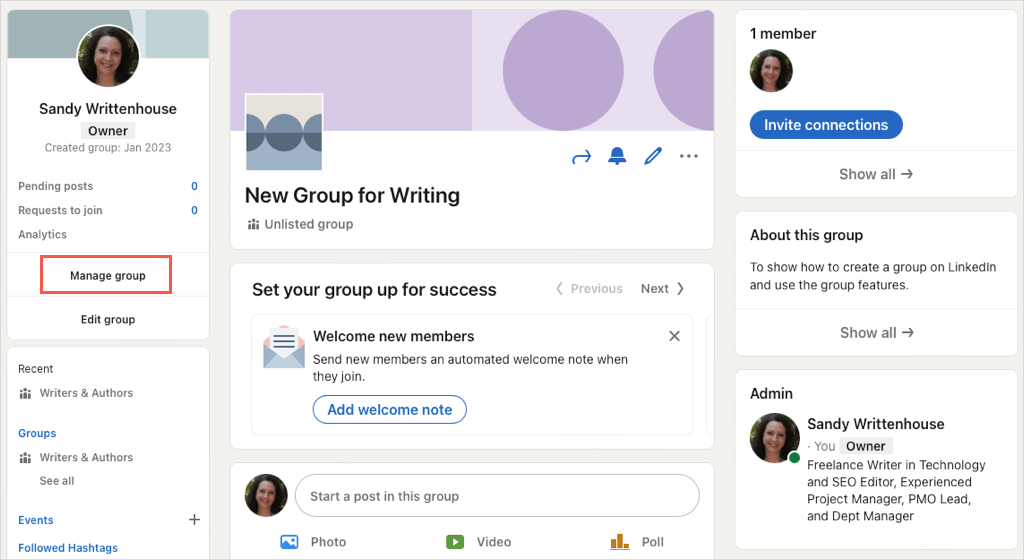
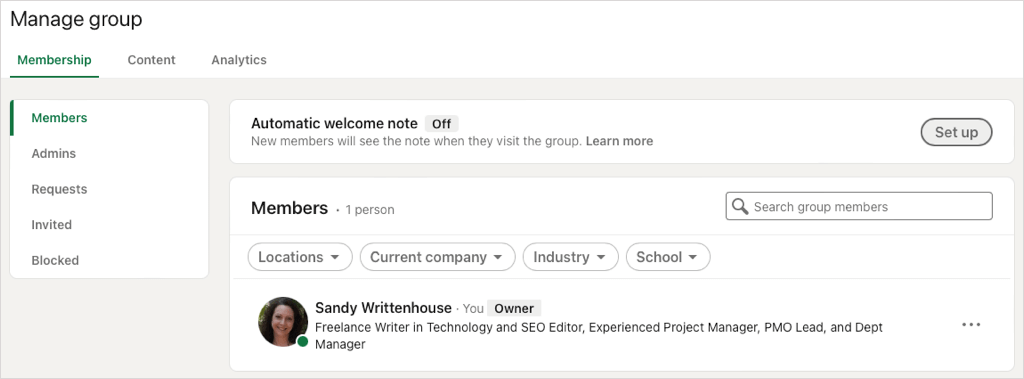
You can view and edit the new group’s admins, requests, invites, and those you’ve blocked. On the web, select Manage group on the left and choose the Membership tab on the subsequent screen. In the mobile app, select Manage group at the top and then Manage membership at the bottom. You can then move through the various areas to manage those types of active group members.
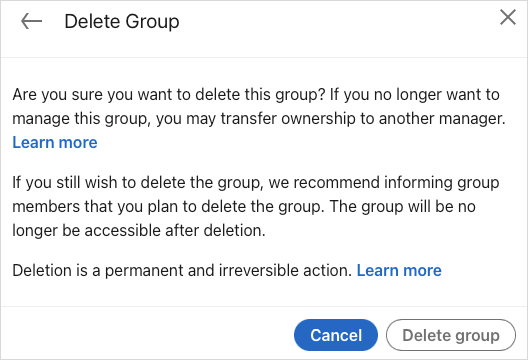
Delete a LinkedIn Group
If you decide your LinkedIn group isn’t working out, you can delete it. Currently, you can only delete a group on the LinkedIn website and the action is permanent, so be sure you want to delete the group before following the steps below. Tip: You can transfer ownership of the group to one of the group’s owners rather than delete it if you prefer. By creating a LinkedIn group, you can not only expand your professional network, but provide a place for your connections with similar interests to meet, share ideas, and have group discussions. Now that you know how to create a group on LinkedIn, why not look at how to add or update your resume on LinkedIn too.