Fast forward to the current day and you can’t even fathom that Twitch wasn’t always a thing. Ever since the transition from Justin.tv, gamers and gaming streamers had finally found a refuge to call their own. This still holds true even with the many changes to the platform made over the years. Twitch has become so big that it is no longer all about gaming. It has also become a haven for artists, budding chefs, and even folks who just want to chat with an audience directly using the “IRL” category. Even with rivals like YouTube Gaming, Caffeine, and Mixer looking for a slice of the streamer pie, Twitch towers above them all. The platform is home to over 15 million daily viewers and nearly two million creators there to entertain them. Understandably, you can’t just jump into streaming on Twitch without a bit of set up and foresight on your part. You’ll need to figure out what system you’ll be streaming on, which streaming software you’ll use, different peripherals to boost your stream, and how to create an account.
How To Stream On Twitch: A Guide For Newbies
Even with the recent moves to Mixer by two of the biggest Twitch streamers, Ninja and Shroud, the Twitch platform continues to do very well. It’s also still seen as the place to go when beginning your streaming career. Newbies looking to learn how to stream on Twitch, either as a hobby or a professional career, may have a difficult time figuring out how to get started. We feel that the first thing you need to worry about is what system you plan to use for streaming.
Choosing Your Setup
A gaming PC, Xbox One or PlayStation 4 console is a must if you plan to begin streaming on Twitch. The requirements for Twitch streaming will vary depending on how you want your broadcast to appear to audiences. Higher quality expectations will require greater computer specifications. We suggest building your own PC so that you can meet any specifications you prefer. This will involve additional technical knowledge and time spent but is the best route to take for the “perfect stream”. Those without the required knowledge or time for a custom-built PC can instead opt to use a console or pre-built PC based on your preference. High-end laptops are also a decent investment into streaming but not normally as powerful as the previous mentioned systems. Less demanding games, or whatever you’ve chosen to stream on Twitch, will require less of an investment.
Audio, Video, & Voice
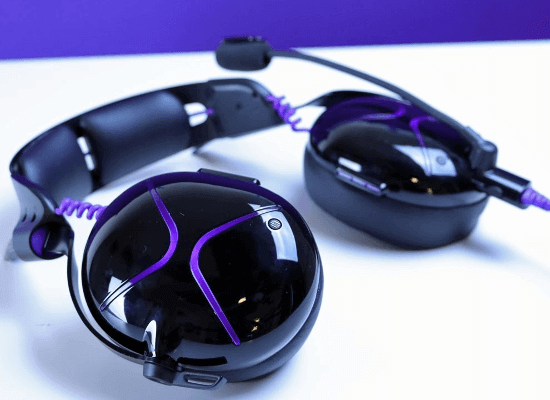
Headsets are more of a priority for console streamers as they are able to stream directly on their device using the Twitch app. It’s also more compact and easy to use rather than purchasing a bunch of separate parts that are required of PC streamers.
Recommendations
HyperX Cloud Stinger (budget buy)
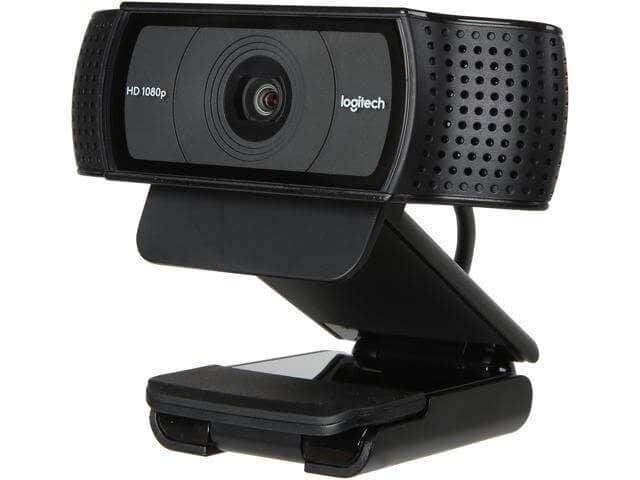
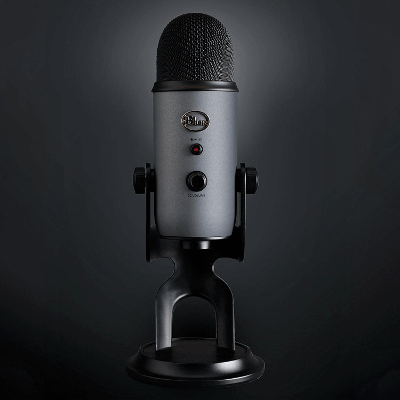
SteelSeries Arctis 7 for PC/PS4 or Xbox One (middle of the road) Victrix Pro AF (high-end, competitive) A webcam isn’t a requirement to stream on Twitch but does boost audience engagement which is useful if you ever plan on making it big. There are plenty of choices out there in terms of viable equipment, but most beginners should select either the Logitech HD Pro C920 or C922. Each provides 1080p HD video while streaming and recording, producing a 720p output at 60fps. For PC-users, a dedicated microphone serves as a better choice than that of a headset. The most talked-about microphone that every streamer swears by is the Blue Yeti. Though there are other higher-quality choices out there, as well as those more budget friendly, this microphone is a new streamer’s best option. It provides professional quality at a decent price and, for most streamers, the upgrades begin and end with the Blue Yeti.
Twitch Account Creation
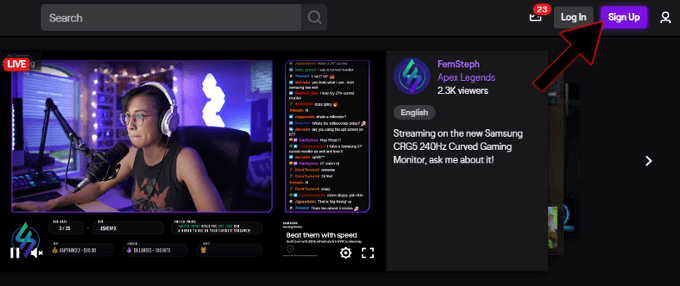
To create a Twitch account, navigate over to the official Twitch.tv website.In the top right corner of the screen, click the purple Sign Up button.
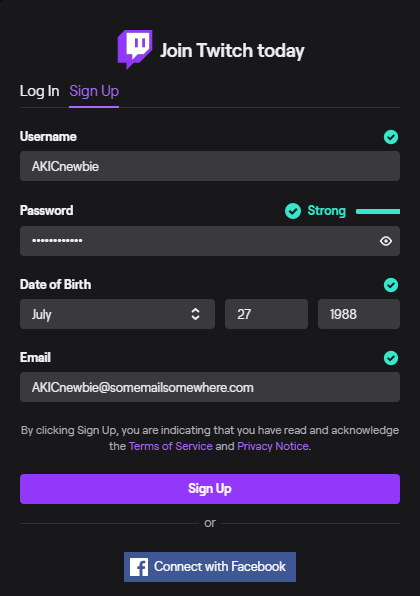
Fill out all of the required information in the pop-up window.
This will be a username, a strong password, and your email address.
Click Sign Up once all information has been entered. You could also choose to create an account using your Facebook ID by clicking on the Connect with Facebook button at the bottom of the window.
Streaming Software
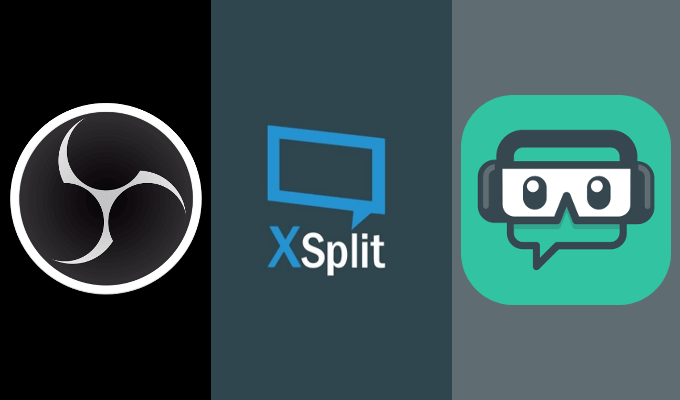
Now that the equipment is out of the way and you have a Twitch account set up, your next step to stream on Twitch is selecting the streaming software. Like most things on the internet, there are plenty of choices but most streamers prioritize three over all others. OBS, Xsplit, or Streamlabs OBS are the top three that streamers tend to use for their streaming sessions. Each is free and the choice you make between them is entirely up to you. Streamlabs boasts an average increase of 30% income when using their tools, so something to keep in mind for streamers looking to cash-in. A basic understanding of audio input/output, bitrates, and navigating Windows File Explorer will go a long way in setting up your Twitch streaming software. Using any of them will require a bit of dabbling to get accustomed to how they work but shouldn’t offer any real trouble, even for beginners. If you do run into some issues, refer to the specific software’s documentation on the official site.
Streaming On Twitch
You’ve got your streaming software setup exactly as you want it. That means that it’s go time right? Wrong. Before you can smash the Go Live button on your respective streaming software, you’re going to need to acquire a stream key and add a bit of stream information. If offered, the streaming software that you’ve chosen will directly connect you to Twitch by using your Twitch account credentials. This means that the streaming software will already have the stream key necessary to begin streaming. They’ll even connect you to your Stream Information for editing as well as the Live Chat. However, just in case it doesn’t, you can follow these steps.
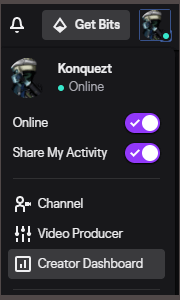
Log into your Twitch account, click on your icon in the top-right corner, and select Creator Dashboard from the menu.
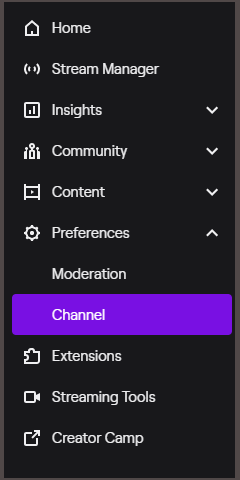
Next, open the Menu on the left and in the Preferences drop-down, select Channel. Here you will find the Primary Stream key that you can copy and paste into the area designated by your chosen streaming software.
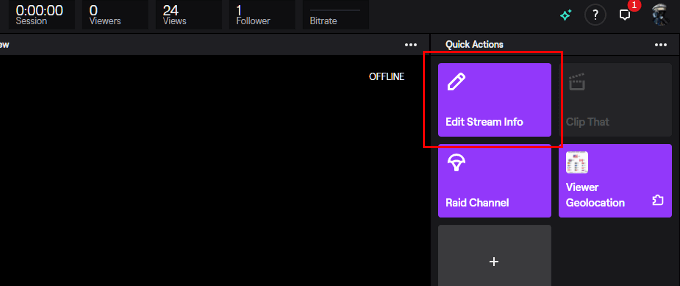
Now, head back to the Stream Manager window and click Edit Stream Info.
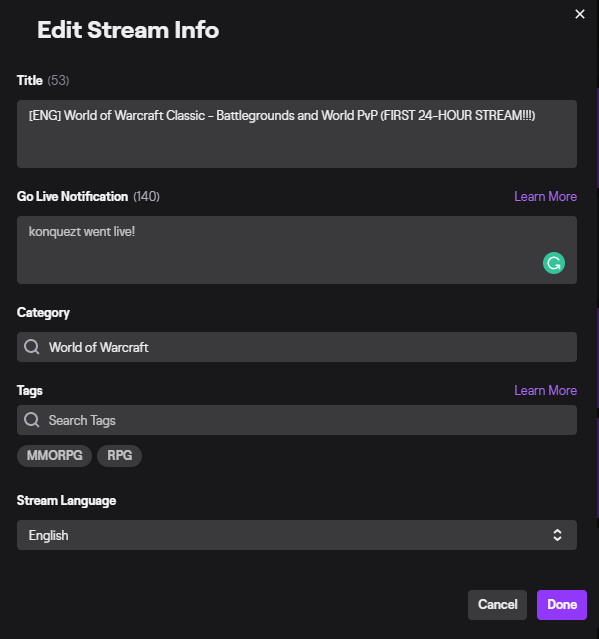
Fill in each box with the proper information.A Go Live Notification isn’t necessary for someone who is streaming for the first time. Come back to this once you develop a following.Filling in the Category with the game you’re playing will often auto-fill the Tags as well.Even though there is a section for Stream Language, it should also be present within the title. Placement is preferred at the beginning of the title to go along with the game you’re playing and what is happening.An example would look like the following.
Click Done. Your title will now appear at the bottom of the window.
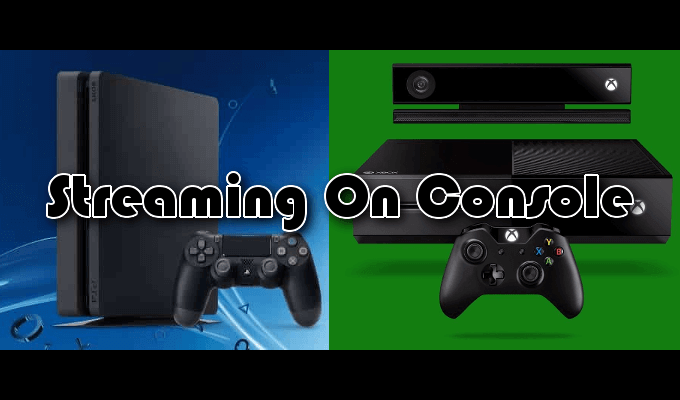
Streaming On Console
All of the already provided information is more than enough for anyone attempting to stream on Twitch using a PC or laptop. The information is also good for consoles like Xbox One and PS4 with a few additions. Whether you choose to stream on Twitch through Xbox One or PS4, it will still require that you download the app from the console’s specified store. You can get the Twitch app from the Xbox store for Xbox One and the PSN store for Playstation 4.
Newbie Streamer Pro Tips For Success
To become a professional streamer you’ll need to remain dedicated to the craft. Building a large audience and making a steady income will take a heavy time investment. Here are a few tips that will help you reach your goals.
Though gear is an important component of streaming, don’t allow yourself to become overly concerned with having the best options. You can always upgrade later so just use what you have access to or that which your budget allows.A niche game has a stronger likelihood of bringing in a new audience. High-profile games already have plenty of streamers and their own viewers that it making it nearly impossible for new streamer growth.Spruce up your channel with images and information including a personal bio and social media connections.Engage with your audience early and often. Stronger streamers will have developed a certain rapport with their viewer base.Stream regularly and provide a visible schedule to your viewers.Keep a watchful eye on your streams health and statistics to understand your audience and gauge their interests.
