If your trusty controller won’t charge or hold its charge as long as it used to, there are a few things you can do about this common problem before considering a complete replacement.
Normal Charge Times and Battery Life
Before we look at the troubleshooting steps for your DualShock 4 controller not charging, it’s important to establish a baseline for what’s normal. The DS4 should charge from empty to full in around two hours. The battery should last four to eight hours, depending on the game and your controller settings. Dimming the light bar and disabling the rumble can extend the controller’s battery life. If your controller is constantly running out of juice in less than four hours, this is a sign that something isn’t right.
1. Make Sure Rest Mode Charging Is Active
The PlayStation 4 has “rest” mode, which puts the console into a lower-power state, but leaves some functions intact. For example, games and updates will continue downloading and installing in this mode. While in rest mode, you can also charge your controllers via the PS4’s USB port. If your controller isn’t charging, check whether the feature is activated by going to Settings > Power Save Settings > Set Features Available in Rest Mode and selecting Supply Power to USB Ports. Of course, when you turn your PS4 off, you should choose rest mode rather than turning the console off completely, or it won’t charge the controllers either.
2. Updating Firmware (You Can’t!)
One potential fix for issues with a DualShock 4 is to update its firmware like you can with an Xbox Series or PlayStation 5 controller. However, as far as we can tell, there’s no official way to do this, and it doesn’t seem like the PS4 ever updates controllers. At least not in a way that’s obvious to users. Of course, you should make sure your PS4 itself always has the latest system software, but we can’t find any evidence that this would affect controllers directly. While there are third-party tools to reflash the firmware on PS4 controllers, these are mainly used by modders and aren’t relevant here.
3. Check the Charger and Cable
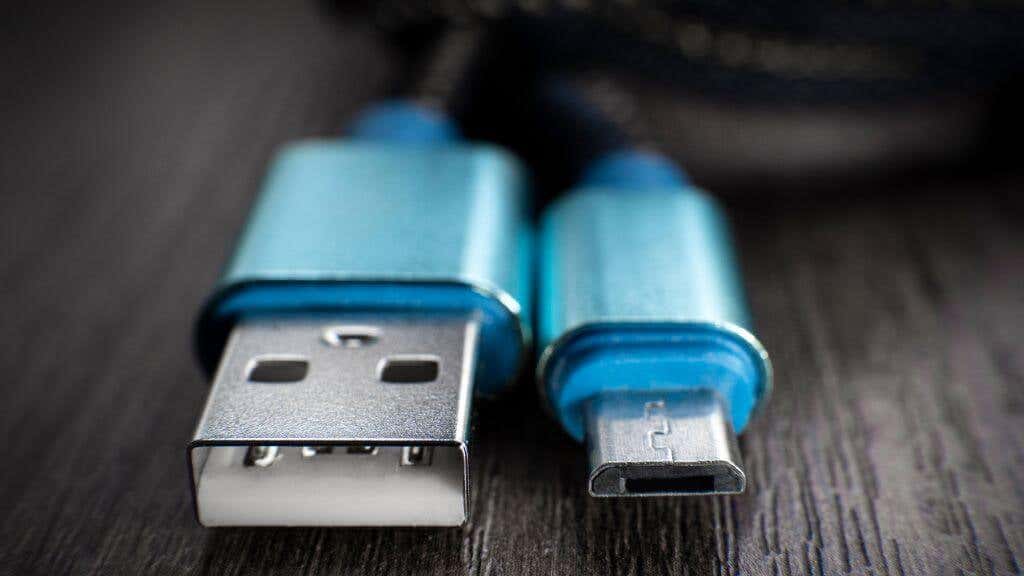
An essential troubleshooting step is ensuring your cable and charger work properly. Try a different one or try charging something else with it. The same goes for the cable. Use a different cable to see if that makes a difference. Another potential issue is using a fast-charging port. For example, some power banks offer standard USB and fast-charging ports. In our experience, the DS4 won’t always charge from these intelligent fast-charging ports but will happily charge from a standard USB port.
4. Use the Controller Wired
While it’s not a solution to the battery charging issue, you can use a long micro USB cable to power your controller directly from your PS4. You can also use a power bank to power the controller while using it wirelessly.
This is a stopgap until you can get the charging issue sorted, but at least you can keep playing in the meantime!
5. Check the Controller Charging Port Connector
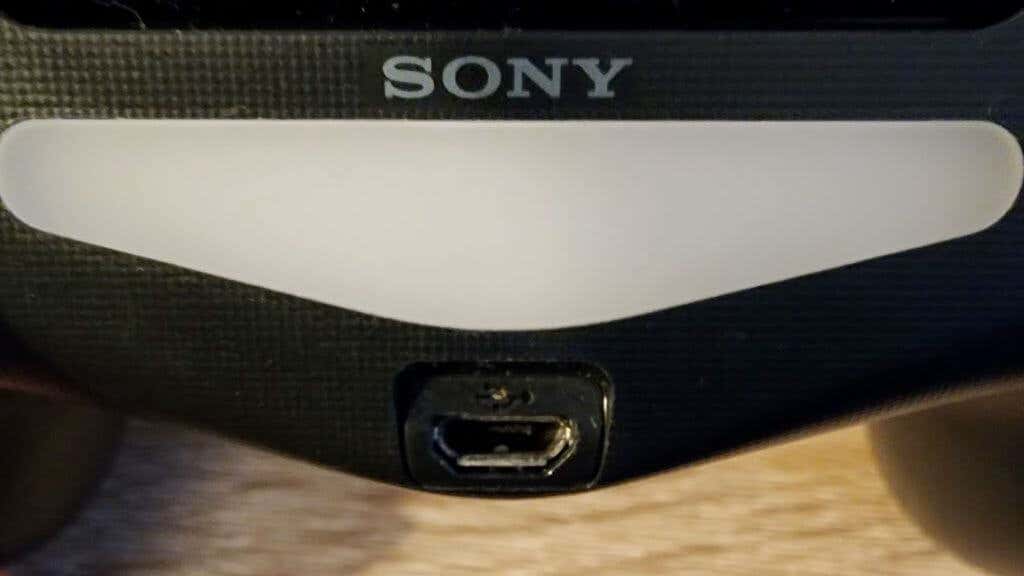
The micro USB port on the PS4 controller will wear out over time as you repeatedly insert and remove the charging cable. This is one of the reasons the PS5 controller has zero-friction pins for charging in addition to a USB-C port. Inspect your PS4 controller and see whether there’s any dirt or debris inside the port. If you see grime in there, you can dislodge it with a can of compressed air. Ensure you use the can as indicated to avoid creating moisture inside or damaging the USB port. Insert the micro USB cable into the controller and gently wiggle it to determine if the port is loose and broken inside. If the port has broken loose on the inside of the controller, it may be possible to have it repaired by a professional if you don’t feel confident in your soldering skills. If the plug slips in and out of the micro USB ports too easily, the port may have worn out to the point where consistent contact is impossible. In this case, you may have the option to replace the port with a new one, but weigh up the cost and effort of doing this against the price of a new controller. If you’re satisfied after inspecting the controller for signs of damage, it’s time to try something else.
6. Reset the Controller
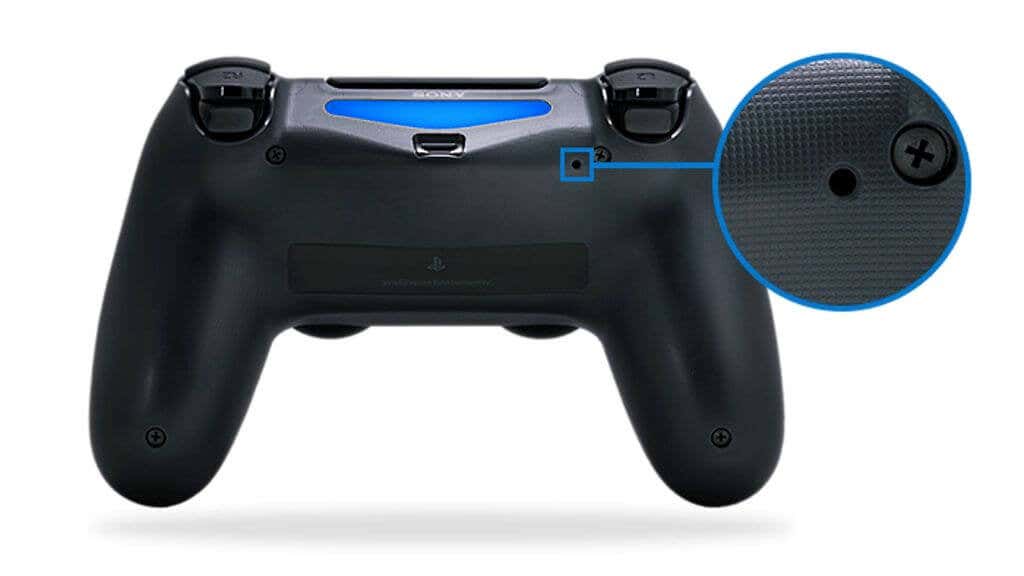
You can reset your PS4 controller with a dedicated hardware button, which often resolves some seemingly random issues that can crop up with the device. You only need a plastic or wooden toothpick or another object that won’t damage the plastic. Flip your controller upside down, and locate this recessed reset button near the L2 trigger on the back of your controller. Use your tool to depress the button inside the small hole for 5 seconds. Now the controller has been reset. To pair it with your PS4, connect it to the console using a USB cable and press the PS button. To use it with another device, like a PC or iPad, you’ll have to pair it again as a new Bluetooth device. If you’re unsure how to do that, check out How To Connect a PS4 Controller To An iPhone, iPad Or Android Device.
7. Do a Warranty Return (If Applicable)
If your PS4 controller is still under warranty, you shouldn’t mess with it. Instead, get in touch with the store you bought it from or with Sony’s customer care department, and have the controller repaired or replaced under its warranty. You’ll be without your controller for a few days, but at least you know you’ll get a working unit back.
8. Replace the Controller Battery
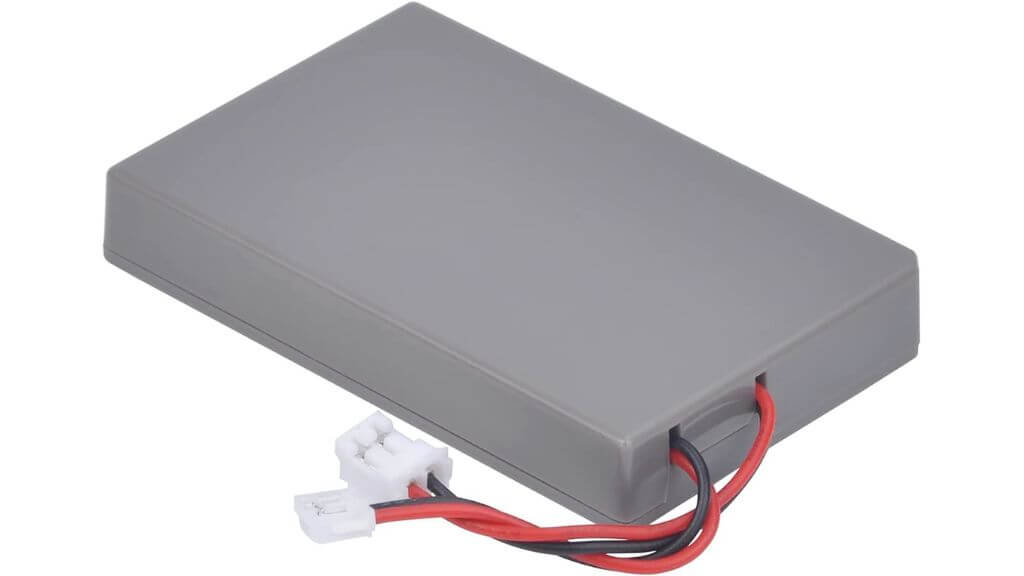
All lithium batteries wear out over time. If your PS4 controller is a few years old, it no longer has full battery capacity. If the battery wears out enough, it eventually won’t hold a charge. However, if the rest of your controller still works fine, you can replace the PS4 controller quite easily. The battery isn’t glued in or soldered to the internals of the controller.
9. Add an External Battery Pack
If you don’t feel comfortable opening up your PS4 controller, a clip-on external battery pack is another workaround for a worn-out battery. For example, the KMD Battery just pops into your controller and adds 1000mAh of power. That’s just as much as the PS4 controller shipped with, so you’ll get at least the original capacity back, plus whatever the original battery still has.
10. Buy a New Wireless Controller
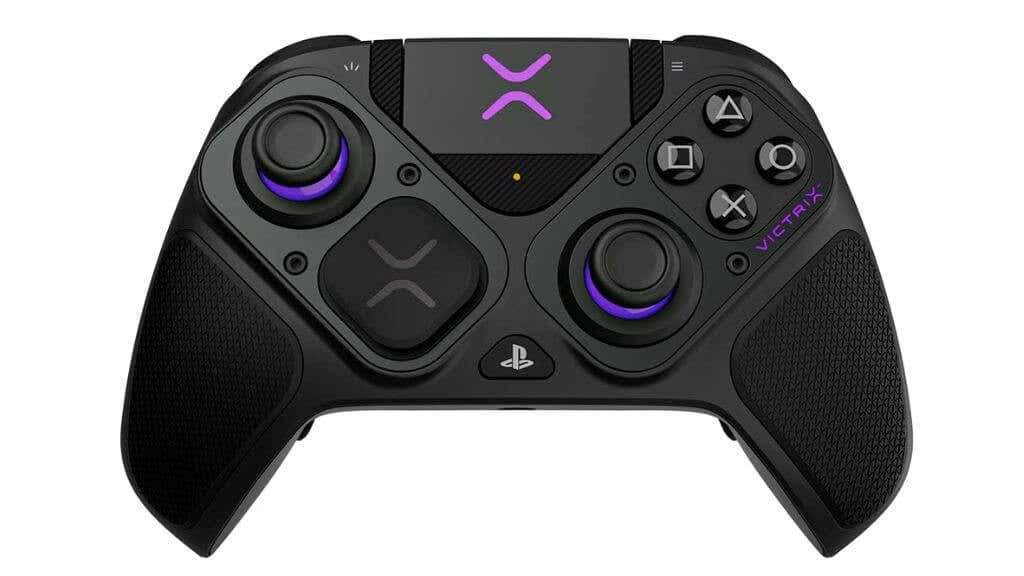
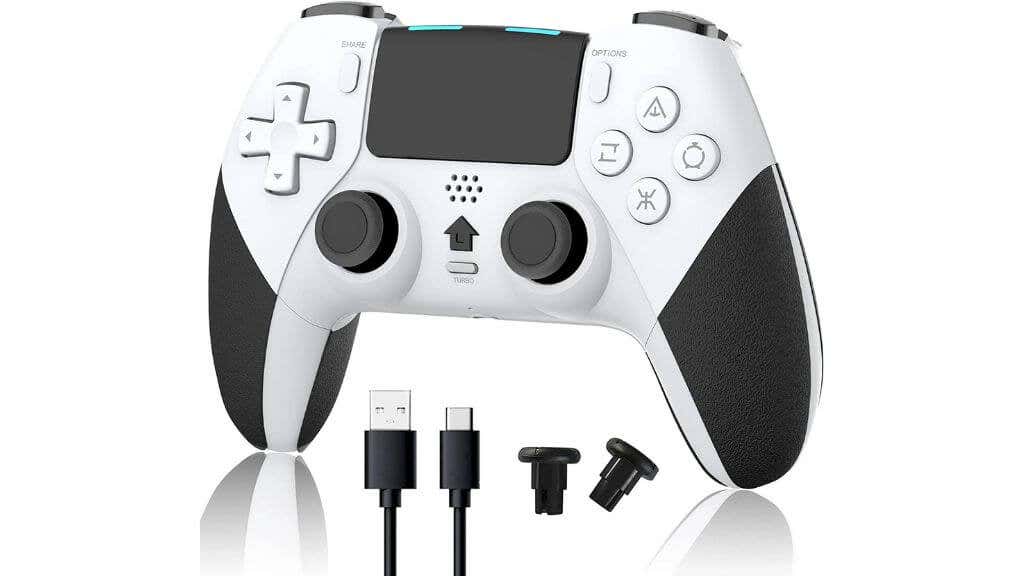
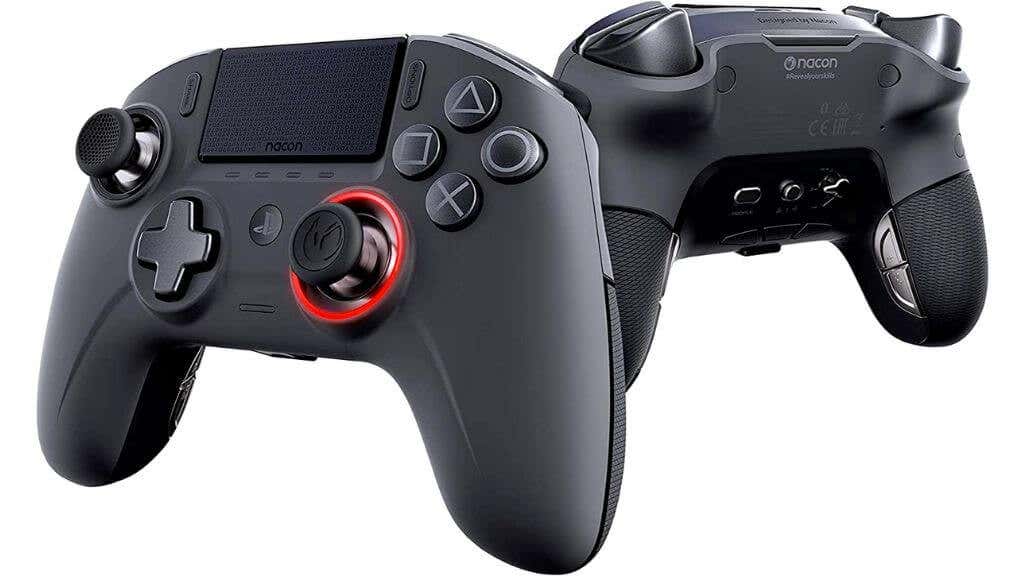
If your PS4 controller is in rough shape overall, doesn’t charge or turn on no matter what you do, or simply can’t find a suitable battery replacement solution, it’s time to accept that you must buy a new controller. However, this doesn’t mean you must stick with a Sony original. The PS4 has been around for quite some time, and many excellent third-party alternatives solve many of the small complaints people have about Sony’s otherwise excellent controller. For example, the PDP Victrix Pro BFG controller offers an offset layout like Xbox, works with PS4 and PS5, and can work as a PC controller. Although it has no rumble or haptics, the battery life on this controller is rated at up to 20 hours, and it has heaps of extras such as back buttons and multiple custom profiles. If the asking price on the BFG is a little dear for you, then the TERIOS controller does an admirable job of cloning the DualShock 4 at a shockingly low price. It’s comfortable, has programmable back buttons, and has better battery life than the original Sony controller, but the quality of the rumble isn’t quite as good. If you don’t care for rumble and want to save a few dollars, it’s a great option. If, on the other hand, you’re feeling a little flush with cash, you could go for something like the NACON Revolution Unlimited Pro V3. It has a seven-hour battery life, customizable sticks, and a 10-foot cable if needed. This controller is more about performance than comfort, but it’s a great start if you want to take your competitive gaming more seriously.
